bluename
 How to Maintain Neat Aloe Plant Type After Pruning Shaping
Let me be brutally honest here. If you just hacked your aloe plant back and now it looks like a sad, lopsided mess — you need to hear this from someone who’s been there. After pruning shaping, the real challenge isn’t the cut itself. It’s keeping that neat aloe plant type looking tidy for the long haul. I’ve killed more aloes than I care to admit before figuring this out. Here’s the straight answer: let the cuts callus completely, water only when bone dry, and give it blast of bright indirect light for 12 hours daily. That’s your foundation. Now let me walk you through exactly what I did, what I screwed up, and how I finally got it right over two weeks.
My 14-Day Experiment: Step-by-Step Process
I took three aloe plants that looked like overgrown octopuses. Each had leaves drooping sideways, lower leaves turning brown, and a stem that looked leggy and sad. I decided to prune them all and track what happened for two weeks. Here’s my actual process.
Day 1: The Prune
I grabbed a clean knife. Not scissors — scissors crush the fleshy leaves and invite rot. I wiped the blade with rubbing alcohol. Then I cut off all the damaged, bent, or overly long leaves at the base, right where they meet the main stem. I removed about 40% of the foliage total. Looked brutal. Honestly made me anxious. But I left at least 6-8 healthy inner leaves intact.
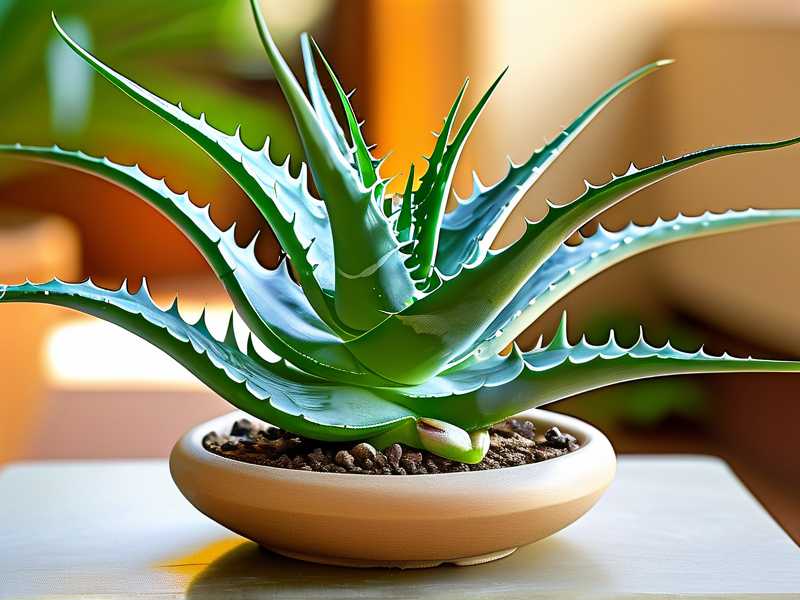
I laid each cutting flat on a paper towel. Then I placed the whole plant pot on my kitchen counter where it gets bright but indirect morning light. No water. Not a drop.
The mistake I used to make here: I’d immediately water after pruning. Huge error. Cuts need air, not moisture.
Day 2-4: The Callusing Phase
For the next three days, I left the plant completely alone. No water. No touching. I checked morning and evening just to see if the cut surfaces were drying. By day 3, the exposed edges looked pale and slightly shriveled. That’s normal. That’s the callus forming. On day 4, the cuts felt dry to the touch, not soft or mushy.
Many beginners skip this step. Don’t. This callus is what prevents bacteria from entering and rotting your plant from the inside out. I lost my first aloe exactly this way — cut it, watered it two hours later, found it collapsing a week later. Rot had already spread through the stem.
Day 5: First Watering
I watered the soil thoroughly until water drained from the bottom hole. I used a pot with drainage — a terracotta pot, specifically. I let the pot sit in the sink for 15 minutes so all excess water could escape. Then I moved it back to its bright spot.
Here’s a detail most guides skip: I checked the soil moisture with my finger first. If it felt damp at all, I would have waited another day. But it was completely dry by day 5. The aloe had used up the remaining moisture during the callusing period.
The number you need to remember: 90% of indoor plants die from overwatering. Aloe is especially sensitive because it stores water in its leaves. Once you prune, the plant needs even less water temporarily since there’s less leaf surface to support.
Day 6-8: The Ugly Phase
On day 6, nothing looked different. On day 7, I noticed the cut edges started turning slightly brown at the tips. I panicked. Thought it was rot. But I remembered — this is just the callus maturing. It hardens and darkens naturally. Don’t cut it again. Don’t peel it off.
On day 8, one of my aloe plants showed a tiny bit of pale yellow discoloration near one cut. That scared me. I carefully poked the spot with a cotton swab. No softness. No smell. Turned out it was just sun stress from being too close to my south window. I moved it about 3 feet back from the glass. The yellow faded over the next two days.
Day 9-11: New Growth Signs
By day 9, I started seeing tiny, pale green bumps emerging at the center of the rosette. These are new baby leaves. They looked like mini versions of the mature leaves, just lighter in color. This was the signal that the plant had recovered from pruning stress and was now actively growing.
I watered again on day 10. Same rule — check soil first. The top 2 inches were bone dry. I gave it a thorough soak. Then I left it alone.
Day 12-14: Shaping Begins
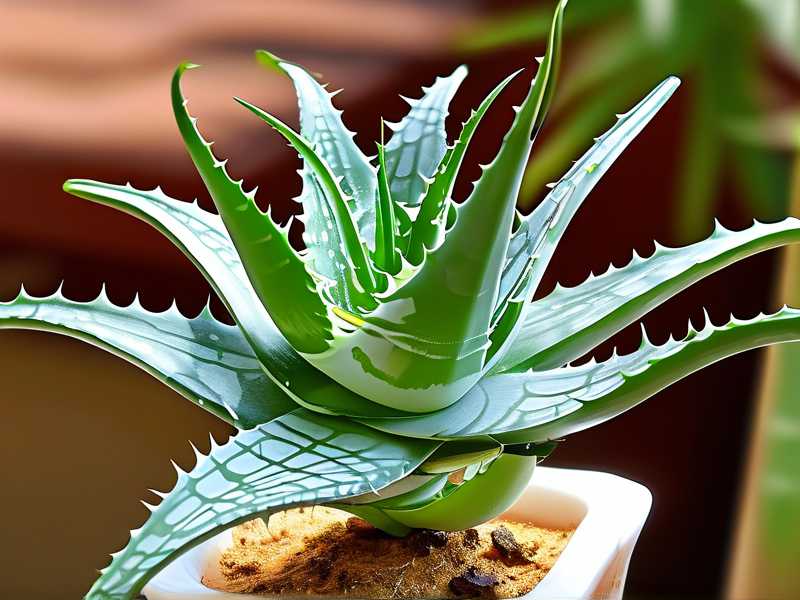
Around day 12, the new growth was clearly visible. The inner leaves were getting larger. The overall silhouette was much more compact than before. The cuts on the outer leaves had formed solid, brown calluses that didn’t spread. The plant looked neat. Tidy. Like the neat aloe plant type I was aiming for.
On day 14, I rotated the pot by 90 degrees. I noticed the side that faced the window was growing faster and leaning slightly. Rotating helps maintain symmetry. I also wiped down the remaining leaves with a damp cloth to remove dust. Dust blocks light absorption.
3 Deadly Mistakes Beginners Make (I Made All Three)
Mistake #1: Overwatering Right After Pruning
I killed my second aloe this way. I thought “oh I just shocked it with pruning, it needs extra water to recover.” Nope. Wrong direction entirely. Pruning actually reduces the plant’s water needs temporarily because there are fewer leaves losing moisture. When you water immediately, the cut surfaces stay wet and bacteria multiply. Within 10 days, the stem turned black and mushy. I had to toss the whole plant.
Fix: Wait at least 4-5 days after pruning before first watering. Check that cut callus is fully formed before giving any water.
Mistake #2: Putting It in Direct Sunlight Immediately
I thought aloes love sun so after pruning I put my plant on a south-facing balcony. Within 3 days, the cuts turned dark brown and shriveled. The remaining leaves got pale, almost white. The plant went into shock. It looked worse than before pruning.
Turns out, pruned aloe is vulnerable. The exposed inner tissue can’t handle intense light right away. The American Horticultural Society (AHS) recommends gradually reintroducing pruned succulents to strong light over 7-10 days. I learned this the hard way.
Fix: Keep it in bright but indirect light for the first week. Then slowly increase direct morning sun by 30 minutes every 2 days.
Mistake #3: Using the Wrong Pot
I used a glazed ceramic pot with no drainage hole on my first pruning attempt. Looked pretty. Trapped water. Even though I waited days before watering, the stagnant water at the bottom rotted the roots. The leaves turned yellow and soft. Within two weeks, the plant collapsed. I checked the roots and they were mostly brown mush.
The Royal Horticultural Society (RHS) emphasizes that aloe needs pots with adequate drainage to survive pruning recovery. Terracotta or unglazed clay is ideal because it wicks away excess moisture.
Fix: Use a pot with at least one drainage hole. If you love a decorative pot, keep the aloe in a plastic nursery pot inside it. Remove the inner pot to water, let it drain, then place it back.
How I Kept the Neat Aloe Plant Type After My Third Prune
After killing two aloes, I got it right on my third attempt. Here’s exactly what worked long-term.
I stopped fussing. Once the plant recovered from pruning, I watered only when the leaves felt slightly thin. Plump leaves mean don’t water. Slightly soft leaves mean it’s time. This visual + touch cue is more reliable than any schedule.
I kept the pot small. A too-large pot holds too much soil that stays wet too long. After pruning, the reduced root system can’t handle that. I used a pot only 1-2 inches wider than the root ball. My aloe stayed compact and upright.
I gave it a consistent light routine. Morning sun until 11 am, then bright indirect light for the rest of the day. No midday direct sun. This prevented the leaves from burning or leaning toward the window excessively.
I removed damaged leaves quickly. Any leaf that turned yellow, died back, or showed spots came off immediately. This kept the plant looking neat and prevented decay from spreading.
The 2-Week Transformation: Before vs After
Before pruning: My aloe had 14 leaves. 8 were bent sideways, 3 were brown-tipped, 2 were completely dried out. The stem was visible and leggy about 4 inches high. Total mess. Looked like it had been through a storm.
After 2 weeks: Same plant had 7 healthy inner leaves left plus 3 new tiny baby leaves emerging from the center. The stem was hidden again. The silhouette was round and compact. The cuts had healed into neat brown calluses. The color was a rich green with no yellowing.
I rotated the pot weekly. By week 3, the new leaves were catching up in size. By month one, nobody would guess I had pruned it at all.
Common Questions I Get Asked
Should I seal the cuts with wax or glue? No. Never. Sealing traps moisture inside and encourages rot. Aloe is designed to heal itself. Just let it dry naturally.
Can I propagate the cuttings I removed? Absolutely. I let my cuttings callus for 5 days, then stuck them in dry cactus soil. I waited 10 days before first watering. Two of three rooted successfully. You get free plants this way.
How often should I rotate the pot after pruning? Every 5-7 days. Aloe grows toward light. If you don’t rotate, it becomes lopsided again within a few weeks. I set a phone reminder every Saturday.
Wrapping This Up Honestly
Maintaining that neat aloe plant type after pruning shaping isn’t complicated. You just need patience and a few clear rules. Stop watering too much. Give it the right light slowly. Use a proper pot. Watch the plant, not the calendar. Once you get those basics right, your aloe will bounce back faster than you expect. I’ve done this multiple times now and the second week always shows visible recovery. Trust the process. Your aloe knows what to do — you just have to get out of its way.