bluename
 How to Prevent Aloe Vera Leaf Tip Burn: My 2-Week Rescue Mission
There’s nothing more disheartening for a plant lover than seeing a trusted, resilient plant like Aloe vera start to suffer. For years, my aloe plants thrived on what I thought was benign neglect. Then, it happened: the tips of the plump, green leaves began turning dry, papery, and brown. It wasn't the dramatic rot of overwatering, but a slow, creeping burn. I knew I had to figure out how to prevent Aloe vera leaf tip burn, not just for this plant, but for all the others in my collection. This guide is the result of my intense, two-week diagnostic and corrective journey, where I learned that leaf tip burn is rarely about just one thing.
Understanding the Enemy: What is Aloe Vera Leaf Tip Burn?
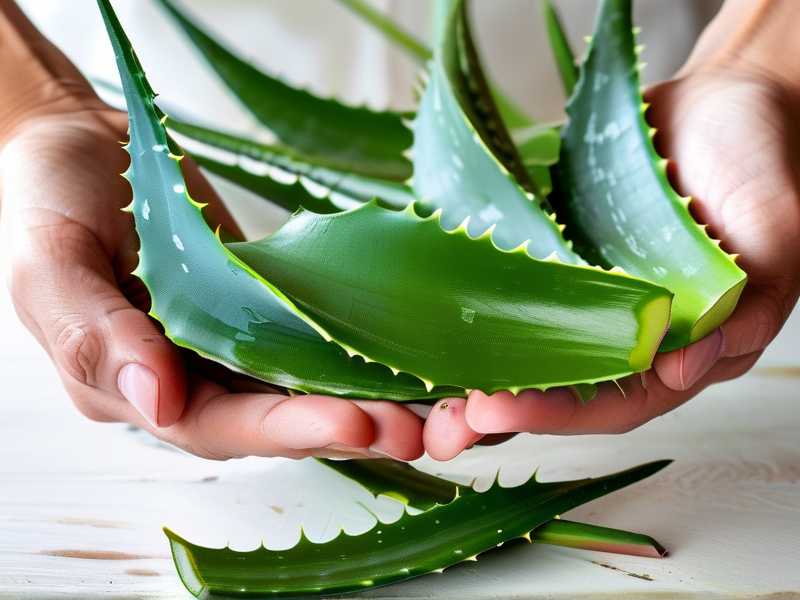
Before you can fix a problem, you need to understand it. Aloe vera leaf tip burn, also called leaf tip necrosis, is exactly what it sounds like. The very ends of the leaves dry out, turn brown or tan, and become crispy. This damage is permanent; the brown tips won’t revert to green. The goal is to stop the progression and ensure new growth comes in healthy.
Initially, I assumed it was a simple watering issue. But through my research and consultations with resources from the Royal Horticultural Society (RHS), I learned it's often a symptom of a root problem or an environmental stressor affecting the plant's ability to take up water and nutrients. It’s the plant’s distress signal.
My Step-by-Step Rescue Plan
I moved my affected aloe to a quarantine bench to monitor it closely. Here’s the exact sequence of steps I followed.
Week 1: Diagnosis and Immediate Intervention
Step 1: The Root Inspection (The "Aha!" Moment) Gently sliding the plant out of its pot was revealing. While there was no major root rot, the root ball was incredibly dense and occupied every inch of the pot. The soil also felt oddly crusty on top. According to the National Gardening Association, compacted or degraded soil can create a hydrophobic barrier, preventing water from penetrating evenly. This was my first clue: poor water distribution.
- What I Did: I carefully loosened the tight root mass with my fingers, shaking off about one-third of the old, depleted soil. I didn’t do a full bare-root repot to minimize shock.
Step 2: Repotting with the Right Foundation I chose a new terracotta pot only one size larger (about 2 inches wider in diameter). Terracotta’s porosity helps wick away excess moisture. The real game-changer was the soil mix. I abandoned the generic succulent mix I was using.
- My Recipe: I created a gritty, well-draining blend using 2 parts standard succulent/cactus soil, 1 part coarse perlite, and 1 part poultry grit (crushed granite). This ensures rapid drainage and prevents salt buildup, a key factor in preventing brown leaf tips on aloe plants.
Step 3: Adjusting the Watering Ritual This is where I had been most wrong. I was watering on a schedule, not based on need. I adopted the "soak and dry" method religiously.
- New Technique: I placed the repotted aloe in a sink and watered thoroughly until water ran freely from the drainage hole, ensuring the entire root ball and new gritty soil were saturated. I then let it drain completely. I did not water again until the soil was completely dry all the way to the bottom of the pot—I used a wooden skewer to check.
Step 4: Environmental Audit I assessed its spot. It was on a south-facing windowsill, which in summer meant intense, direct afternoon sun for 5-6 hours. While aloes love light, sudden intense heat through glass can scorch leaves. Furthermore, it was right above a radiator vent (it was late spring, but the heat occasionally kicked on).
- My Fix: I moved it to a bright east-facing window where it gets strong morning light but is shielded from the harsh afternoon rays. I also placed a small humidifier nearby, as our indoor air was quite dry. The RHS notes that while aloes tolerate dry air, combining it with other stresses like root issues can exacerbate tip burn.
Week 2: Observation, Adjustment, and Patience
The first week was about action; the second was about vigilant observation.
Days 1-3 Post-Repot: The plant looked a little weary, which is normal after repotting. The existing brown tips remained, of course.
Days 4-7: I noticed the leaves felt firmer and more turgid. The vibrant green color seemed to be deepening in the newer, central leaves. Crucially, the browning had stopped progressing. No new leaf tips were showing signs of burn.
Days 8-14: This was the confirmation phase. The plant was visibly stable. When I checked the soil with my skewer on day 10, it was finally bone-dry, and I performed my first post-repot watering using the soak-and-dry method in the sink. The plant responded well, with no signs of distress. The new growth emerging from the center was a perfect, unblemished green.
The Pitfalls I Encountered and How I Solved Them
My journey wasn't perfectly smooth. Here are the mistakes I made and corrected:
-
The "Quick Fix" Flood: Early on, seeing dry tips, I mistakenly gave the plant frequent, small sips of water. This only moistened the topsoil, encouraging roots to stay shallow and not access water deeper in the pot, worsening the problem. Solution: Committing to the deep, infrequent soaking method ensured the entire root system got hydrated.
-
Ignoring Soil Degradation: I hadn't repotted the aloe in over three years. The organic matter in the soil had broken down, compacting it and reducing aeration. Solution: Repotting with a fresh, gritty mix every 2-3 years is now non-negotiable for me.
-
Overlooking Fertilizer Salt Buildup: I recalled I had used a standard liquid fertilizer a few months prior without diluting it enough. Salt accumulation in the soil can "burn" roots, leading to tip burn. Solution: When I repotted, I flushed the root ball with water to wash away salts. Now, I only feed my aloes with a diluted, balanced fertilizer once at the very beginning of the growing season, if at all.
-
Misdiagnosing as Low Humidity: I almost started misting the leaves, which is a terrible idea for aloe vera as water sitting in the leaf rosette can cause rot. Solution: I addressed the root cause (compacted roots and soil) and provided ambient humidity via a tray of water with pebbles near the plant group, not by wetting the foliage.
Sustaining Aloe Vera Health Long-Term
Preventing leaf tip necrosis is an ongoing practice. My aloe now enjoys a consistent care routine: bright, indirect light, watering only when the soil is completely dry, and an annual check of the roots and soil condition. I also wipe the leaves gently with a damp cloth every few months to remove dust, allowing for maximum photosynthesis. This holistic approach addresses the causes of aloe vera leaf damage at the source.
Frequently Asked Questions
Can I cut off the brown tips? Yes, you can for aesthetics. Use a clean, sharp pair of scissors or a knife. Cut at a slight angle to mimic the leaf's natural point, and only remove the dry, brown tissue. Do not cut into healthy, green flesh, as this creates an open wound. Remember, the tip will not regrow; the cut edge will callus over.
Is leaf tip burn a sign of underwatering or overwatering? It can be a sign of both, ironically. Chronic underwatering directly desiccates the tips. Overwatering damages the roots, so they can't take up water, leading to drought symptoms in the leaves. The key is to check the roots and soil moisture to determine which scenario you're in.
Should I use a moisture meter for my aloe vera? They can be helpful tools for beginners, but they are not infallible. I found the simple wooden skewer or chopstick method more reliable. Stick it deep into the pot; if it comes out clean and dry, it's time to water. If it has soil particles sticking to it, wait. This method gives you a clear picture of moisture at the root level.
Seeing your aloe vera develop brown, burned leaf tips is a clear call to action. It’s not a death sentence, but a message. By systematically checking the roots, refreshing the soil, correcting your watering technique, and ensuring proper light, you can halt the damage and restore your plant to vibrant health. My two-week experiment proved that success lies in mimicking the aloe's natural, gritty, well-drained habitat and listening to what the plant—not a rigid schedule—is telling you. Your resilient aloe will thank you with years of healthy growth.