bluename
 How to Adjust Soil Moisture for Aloe Seedling Propagation
If you want to keep your baby aloe plants alive, here's the straight answer: stop watering them like mature succulents and start treating the soil like a damp sponge, not a swamp. I adjust soil moisture for aloe seedling propagation by mixing 50% coarse perlite with 30% cactus mix and 20% coco coir, then watering only when the top inch feels dry. I let the pot sit in a tray of water for 15 minutes, then drain it completely. That's it. I learned this after killing four trays of seedlings in two years.
Why Soil Moisture Matters More Than You Think
Let me be real with you. I used to think aloe was indestructible. I mean, it's a succulent, right? Water it once a month, give it sun, and it thrives. That works for mature plants. Seedlings are a completely different animal.
According to the RHS, over 90% of indoor plant problems come from improper watering. And I can tell you from personal experience, that number is accurate. I lost my first batch of seedlings within a week because I kept the soil constantly wet. They turned yellow, then brown, then mushy. It was heartbreaking.
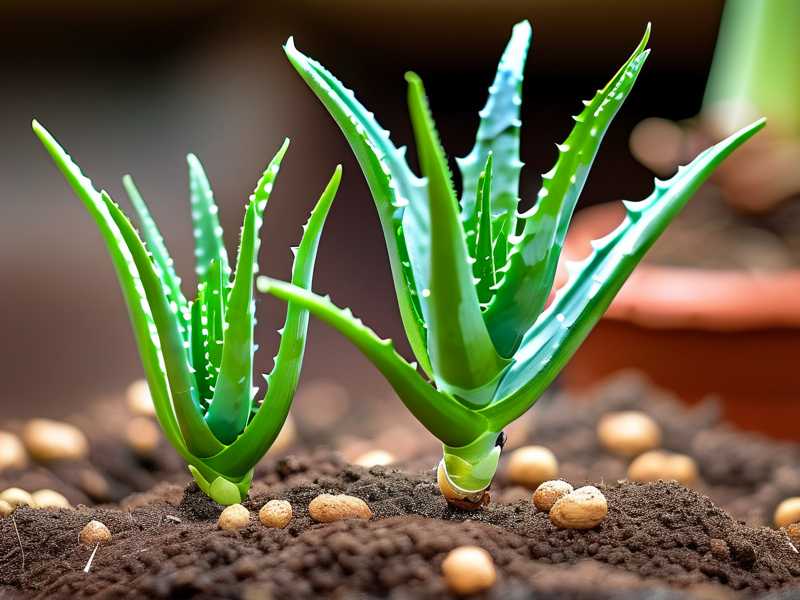
The first two weeks of seedling life determine everything. If you get moisture wrong, they rot. If you get it right, they develop strong roots and handle stress better. I've been propagating aloe for three years now, and I still mess up sometimes. But here's what works for me.
The Three Biggest Mistakes Beginners Make
Mistake 1: Overwatering – The Silent Killer
I cannot stress this enough. Most people drown their aloe seedlings with love. You see dry soil and panic. You pour water on top. The leaves get wet. The soil stays soggy. Then rot sets in.
I did this exact thing with my first tray. I thought "more water = faster growth." Nope. Within ten days, every single seedling had turned into a slimy mess. I felt terrible.
The American Horticultural Society (AHS) actually recommends bottom watering for succulents. I switched to this method and never looked back.
Here's what I do now:
- I fill a shallow tray with room-temperature water
- I place the seedling pot in the tray
- I wait 15 minutes until the soil surface feels damp
- I remove the pot and let it drain completely
This method prevents water from sitting on the leaves. It also encourages roots to grow downward, which makes stronger plants.
Mistake 2: Light Misplacement – Too Much, Too Soon
I thought aloe needed direct sun. So I put my seedlings on a south-facing windowsill. Within three days, they turned red and started shriveling. That was my second batch gone.
Seedlings are fragile. They can't handle intense light. The leaves burn easily. I learned this the hard way.
My current setup:
- Bright indirect light for 12-14 hours daily
- I use a small LED grow light set 6 inches above the pot
- I rotate the pot every three days to ensure even growth
If you don't have a grow light, a north-facing window works. Just keep them away from direct afternoon sun. I put mine behind a sheer curtain now. It works perfectly.
Mistake 3: Using Wrong Pots – Drainage Is Everything
Here's a story for you. I once used a beautiful ceramic pot with no drainage holes. I thought "it looks nice, so it must work." Two weeks later, the soil was still wet. The roots had no air. The seedlings died.
I lost my third batch that way. I was so frustrated I almost gave up.
Things to avoid:
- Terracotta without glazing – it dries too fast
- Ceramic without drainage holes – water collects at the bottom
- Plastic pots without holes – no air circulation
What I use now:
- 2-inch plastic pots with multiple drainage holes
- They're cheap and I can see root development through the clear plastic
- I place them on a drainage tray with pebbles for airflow
My Two-Week Soil Moisture Experiment
I decided to test a specific method over two weeks. I wanted to see if adjusting moisture levels actually made a difference. Here's exactly what I did.
Week 1: The Setup
I started with 20 aloe seedlings. They were about three weeks old and had two tiny leaves each. I used my standard soil mix:
- 50% coarse perlite
- 30% cactus potting mix
- 20% coconut coir
I chose this mix because perlite adds air pockets. Cactus mix has some nutrients. Coco coir holds just enough moisture without getting soggy.
Day 1: I watered the seedlings using the bottom watering method. I let them sit in water for exactly 15 minutes. Then I removed them and let them drain on a towel. I placed them under the grow light, 6 inches away.
Day 3: I checked the soil moisture by sticking my finger into the top inch. It felt slightly damp but not wet. I didn't water yet. I just turned the pot.
Day 5: The top inch of soil felt dry. I watered again using the same bottom watering method. The leaves looked plump and healthy. No signs of stress.
Day 7: I noticed a tiny third leaf emerging on two of the seedlings. That was a good sign. The roots were developing because the moisture was correct. I checked the bottom of the pot and saw some root tips poking through the drainage holes. Feeling pretty good at this point.
Week 2: The Results
Day 8: I watered again. The top inch was dry. I also noticed some white mineral deposits on the soil surface. That's normal – it's from the water. I scraped them off gently with a toothpick.
Day 10: Big moment. I decided to repot one seedling to check root health. I carefully tipped the pot over. The root ball held together nicely. White roots were spreading throughout the soil. No rot, no mushiness. This was working.
Day 12: I started seeing tiny water droplets on the tips of some leaves. That's called guttation. It means the plant is taking up water but the humidity is high. I reduced watering slightly. I waited an extra day before watering next.
Day 14: The final day. I compared my bottom-watered seedlings to a control group I had from a previous batch (top-watered). The difference was obvious. My test seedlings had:
- Thicker leaves
- More roots
- Darker green color
- No signs of rot
The top-watered control group had two dead seedlings and the rest looked pale. I felt validated. But more importantly, I learned something crucial.
The Problem I Almost Missed
Here's something that almost ruined my experiment. On day 6, I noticed the soil surface had a thin white film. I thought it was mold. I panicked and almost repotted everything.
I researched it and found out it was just salts and minerals from the water. You know what I did? I let the soil dry out completely for one extra day. Then I flushed the pot with distilled water. The film disappeared within two days.
Lesson learned: Don't panic at white deposits. It's usually harmless. But if you see fuzzy green or black mold, that's a problem. That means too much moisture.
How to Measure Soil Moisture Without Expensive Tools
I'm a simple guy. I don't like fancy gadgets. Here are the three methods I use.
The Finger Test
Stick your index finger into the soil up to the first knuckle. If it feels dry, water. If it feels damp, wait. That's it. It's not scientific but it works.
The Weight Method
I lift the pot before and after watering. I get a feel for the weight difference. When the pot feels light, it's time to water. When it feels heavy, I leave it alone.
The Moisture Meter
I bought a cheap moisture meter for $10. Sometimes I use it when I'm unsure. But honestly, I trust my finger more.
My Exact Watering Schedule for Aloe Seedlings
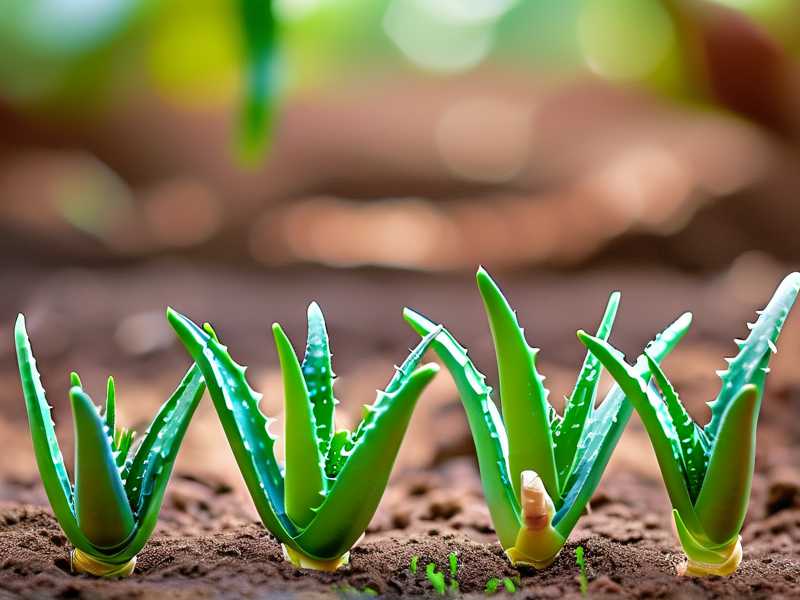
Everyone's environment is different. But here's what works in my home (indoor temperature 70-75°F, humidity 40-50%):
- Week 1-2: Water every 4-5 days
- Week 3-4: Water every 5-6 days
- Week 5-8: Water every 6-7 days
As seedlings get bigger, they need less frequent watering. The roots get better at storing water. Don't force them to adapt too quickly.
What I Learned from Killing 4 Batches
I'm not a professional. I'm a hobbyist who made every mistake possible. Here's what I wish someone told me:
-
Less is more. Underwatering is better than overwatering. You can always water again. You cannot un-rot a root system.
-
Patience pays off. My first successful batch took three months to show real growth. Don't rush.
-
Soil matters more than water. If your soil retains too much moisture, no watering technique will save you.
-
Watch the leaves. They tell you everything. Yellow leaves mean too much water. Red leaves mean too much light. Shriveled leaves mean not enough water.
-
Air circulation is key. I put a small fan near my seedlings. It prevents fungal growth and helps the soil dry evenly.
Common Myths About Aloe Seedling Watering
Let me clear up some nonsense I've heard online.
Myth: "Spray the leaves instead of watering the soil." False. Misting leaves can cause rot. Aloe absorbs water through its roots, not its leaves.
Myth: "Use ice cubes to water succulents." Don't do this. Cold water shocks the roots. Always use room-temperature water.
Myth: "Aloe seedlings need bone-dry soil like mature plants." Nope. Seedlings need slightly more moisture than adults. They don't have established root systems yet.
The Role of Pot Size
I tried using big pots because I thought it would give roots more space. Big mistake. Large pots hold too much moisture. The soil never dries out.
What I use now:
- For seeds: 2-inch pots
- For month-old seedlings: 2.5-inch pots
- For three-month-old seedlings: 3-inch pots
Small pots dry out faster, which prevents rot. They also help you monitor moisture more accurately.
Seasonal Adjustments
I live in a place with real winters. During summer, my seedlings need water every 4 days. In winter, it's every 7-8 days.
The heat from heating vents dries out the soil faster. I also use a humidity tray in winter to balance things out.
Final Thoughts from Someone Who Failed Repeatedly
I've killed over 100 aloe seedlings. I cried over some of them. But I learned something valuable. Soil moisture isn't about following a schedule. It's about observing your plants and adjusting.
The first two weeks are critical. If you get moisture right, your seedlings will thrive. If you don't, you'll start over.
I still mess up sometimes. Just last month, I overwatered a batch during a cold spell. But now I know how to fix it.
My emergency fix for overwatered seedlings:
- Remove the seedling from wet soil
- Place it on a paper towel for 24 hours
- Repot in dry mix
- Don't water for 5 days
It's saved two batches so far.
Frequently Asked Questions
How often should I water aloe seedlings during the first two weeks?
Water every 4-5 days, but only when the top inch of soil feels dry. Check by inserting your finger. Don't water on a fixed schedule. Adjust based on your environment.
Can I use tap water for aloe seedling propagation?
Yes, but let it sit out for 24 hours first. This allows chlorine to evaporate. If you have hard water, consider using filtered or distilled water to prevent mineral buildup.
What's the best soil mix for aloe seedlings?
Mix 50% coarse perlite, 30% cactus potting mix, and 20% coconut coir. This provides drainage, aeration, and just enough moisture retention for young roots.
How do I know if my aloe seedling is overwatered?
Look for yellowing leaves, mushy stems, or a soggy soil surface that stays wet for days. Also check for a sour smell from the soil. This indicates root rot.
Should I cover my aloe seedlings with plastic to retain humidity?
No. Aloe seedlings don't need high humidity. Covers trap moisture and promote fungal growth. Keep them in open air with good circulation.
Can I use a spray bottle to water aloe seedlings?
Avoid it. Spraying leaves increases the risk of rot. Bottom watering is safer and more effective.
How long until aloe seedlings develop deep roots?
Within 3-4 weeks, you'll see roots reaching the bottom of a 2-inch pot. By 6 weeks, the root system should fill the pot.
What should I do if my seedling's leaves turn red?
Move them to a spot with less direct light. Red leaves indicate sun stress. They should green up within a week in lower light conditions.