bluename
 Aloe Vera Yellowing at Base: Causes and Fixes
There's a sinking feeling every plant lover knows. You walk over to your beloved aloe vera, the one you've nurtured for months, and notice a sickly yellow hue creeping up from the base of the plant. It’s not the vibrant green you’re used to; it’s a warning sign. I’ve been there, staring at a once-plump aloe now looking soft and discolored at its core. If your aloe vera is yellowing at the base, don't panic. This is a common cry for help, and over the years, through trial and plenty of error, I've learned how to listen and respond effectively. This guide will walk you through the real causes and the practical fixes I’ve personally tested, including a detailed two-week rescue mission I performed on my own struggling plant.
Understanding Why Your Aloe's Base Turns Yellow
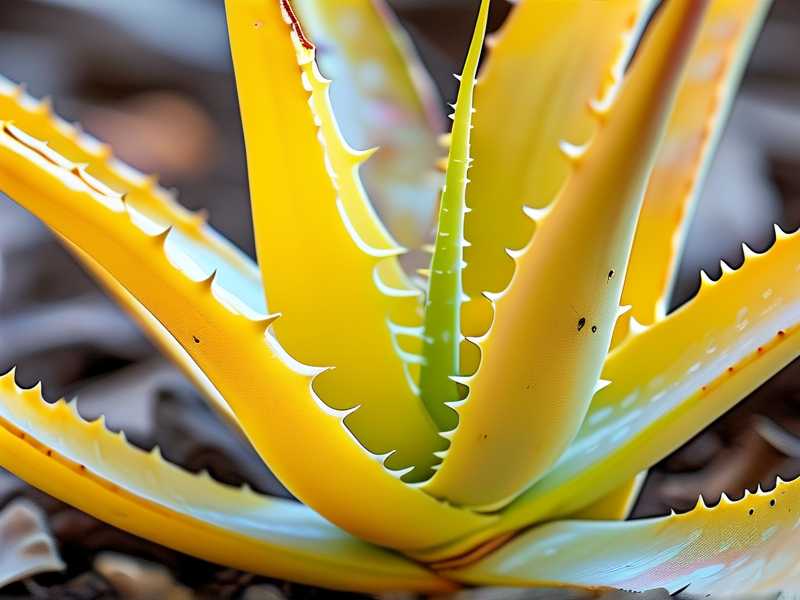
That yellowing at the bottom is rarely a single issue. It's usually the plant's final distress signal before more severe rot sets in. Through my experience and consulting resources like the Royal Horticultural Society (RHS), which notes that "the most common problems with aloes are due to overwatering," I've pinpointed the main culprits.
The primary villain is almost always overwatering and root rot. Aloe vera is a succulent, storing water in its leaves. Its roots are designed for arid conditions. When we love them a little too much with the watering can, the soil stays soggy, roots suffocate and die, and the decay begins from the bottom up. This is the number one cause of aloe vera yellowing at the base.
A close second is poor drainage. It’s not just how much you water, but how quickly the water escapes. A pot without a hole or using dense, moisture-retentive soil creates a bathtub effect around the roots.
Other factors include pests and diseases, like fungus gnats or fungal infections that thrive in wet soil, and natural aging, where older, outer leaves naturally yellow and dry out as part of the growth cycle. The key is to distinguish this slow, dry aging from the rapid, often mushy yellowing of overwatering.
My Step-by-Step Rescue Operation for a Yellowing Aloe
When I saw my favorite aloe starting to yellow at the base two weeks ago, I sprang into action. Here was my process, minute by minute.
Step 1: The Unpotting and Diagnosis I gently tipped the pot and slid the plant out. The soil felt cold and damp, a bad sign. I carefully brushed away the soil to inspect the roots. Just as I feared: many were brown, mushy, and had a faint unpleasant smell—classic root rot in aloe vera. The base of the stem was slightly soft and yellow.
Step 2: The Surgical Procedure I took sterilized pruning shears and cut away every single soft, rotten root and any yellowed, mushy tissue from the base of the plant. I didn't hesitate. You have to cut back to firm, healthy, white or green tissue. This left the plant looking a bit bare, with a shortened stem and fewer roots. I then set the plant aside in a warm, shaded spot to let the wounds callous over for 48 hours. This is crucial to prevent new soil from infecting the fresh cuts.
Step 3: Repotting for Success I chose a terracotta pot, only slightly larger than the remaining root ball, with an excellent drainage hole. For the mix, I made my own: two parts cactus/succulent soil to one part perlite and one part coarse sand. This created the fast-draining, gritty environment aloe roots crave. I planted the aloe so the calloused base was just above the soil line and didn't water it.
The Two-Week Observation: A Plant's Recovery This is where patience is key. I placed the repotted aloe in bright, indirect light.
- Days 1-7: No water at all. The leaves felt less plump but firm, not wrinkled. The yellowing at the base stopped spreading. The color seemed to stabilize.
- Day 8: I gave it its first thorough watering, allowing water to flow freely out the bottom. The soil dried out completely within 3 days.
- Days 9-14: I resumed a strict "soak and dry" method. A tiny bit of new growth was visible at the very center. The previously affected area at the base dried and hardened, turning a pale, scab-like tan. Most importantly, there was no further yellowing of aloe leaves. The plant was stable and clearly on the mend.
The Pitfalls I Encountered and How I Solved Them
My journey wasn't always smooth. Early on, I made mistakes that taught me valuable lessons.
Pitfall 1: The "Just a Little Water" Temptation. After my first repot years ago, I watered too soon, before the callous formed. The rot returned with a vengeance. Solution: Now, I wait a minimum of 48 hours, sometimes 72 if the air is humid. This waiting period is non-negotiable.
Pitfall 2: Using the Wrong Soil. I once used standard potting mix, thinking the perlite I added was enough. It wasn't. Drainage was too slow. Solution: I now use the gritty mix formula religiously. The American Horticultural Society (AHS) emphasizes well-draining media for succulents, and this mix delivers.
Pitfall 3: Misdiagnosing the Cause. I initially mistook pest-related stress (from fungus gnats) for a pure watering issue. I treated the watering but not the gnats, so the plant continued to suffer. Solution: A full root inspection is vital. Look for pests, smell the roots, and feel the texture. Address all issues you find.
Preventing Future Aloe Vera Base Problems
Prevention is always easier than cure. Now, I only water when the soil is 100% dry, and I mean all the way to the bottom. I check by sticking a wooden chopstick into the drainage hole. I ensure my aloes get at least 6 hours of bright, indirect light and are potted in containers that breathe, like terracotta. A consistent environment prevents stress that can lead to aloe plant yellowing issues.
Your Questions, Answered
Can a yellowing aloe vera be saved? Yes, absolutely, if you act quickly. Once the mushy rot reaches the central growing point (the crown), it's often too late. But if there's still firm, green growth at the top, follow the rescue steps. My two-week journal shows recovery is possible.
How often should I really water my aloe vera? Throw away the calendar. I water mine deeply, then wait until the soil is completely dry—a process that can take 2-4 weeks depending on season, light, and humidity. When in doubt, wait another week.
Should I cut off the yellow leaves? If they are soft, mushy, and yellowing from overwatering, yes, remove them cleanly during the repotting surgery. If they are dry, papery, and on the outer bottom layer, they are likely just aging; you can gently pull them off or leave them to fall naturally.
Seeing your aloe vera yellowing at the base is a call to action, not a death sentence. It demands immediate attention, a steady hand for root surgery, and the patience to change your care habits. By understanding the causes—primarily overwatering—and implementing the precise fixes, you can halt the damage and guide your plant back to health. Remember, the goal is to recreate the dry, bright conditions of its native habitat. With less water, more light, and a gritty home, your aloe can return to being the resilient, green companion you love.