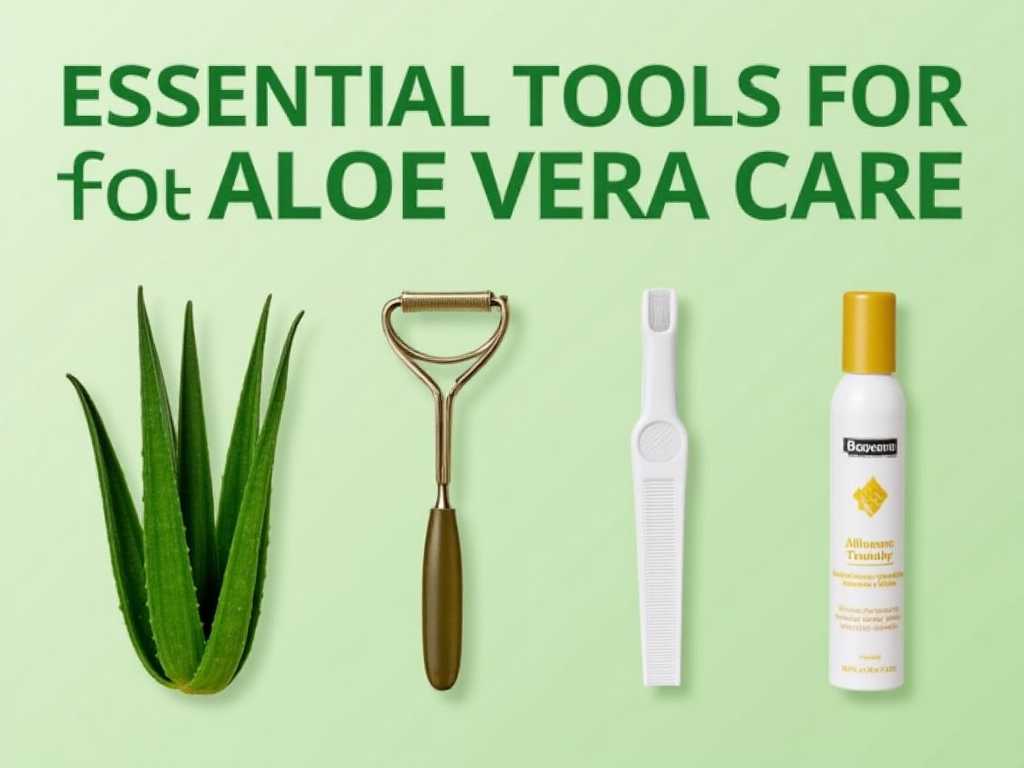
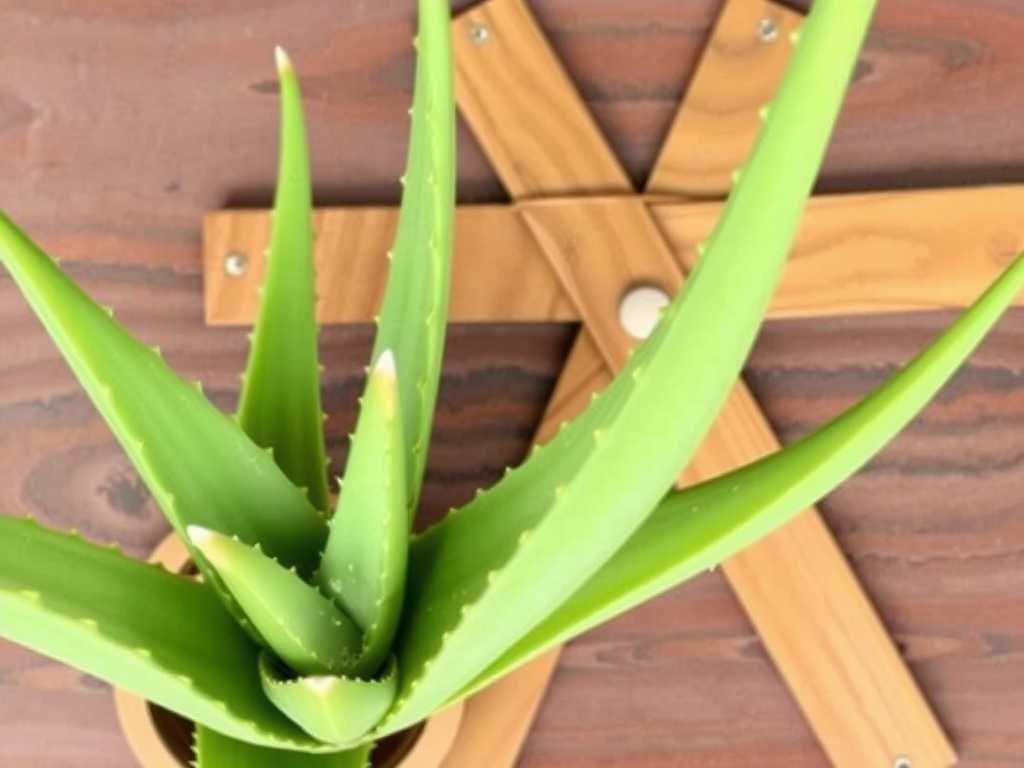
Essential Tools forAloe Vera CareBeginners
Why the Right Tools Matter forAloe VeraBeginners
Must-Have Tools forAloe Vera Care(With Expert Recommendations)
1. Soil Loosener (or Hand Rake)
What to Look For
Size: Choose a small, handheld model (6–8 inches long) with thin, flexible tines. Large garden rakes are too bulky for potted aloe vera and can damage roots.
Material: Stainless steel tines are best—they’re rust-resistant and won’t bend when loosening tough soil. Avoid plastic tines, which break easily.
Ergonomic Handle: A soft-grip handle reduces hand fatigue, especially if you have multiple aloe plants.
Top Recommendations for Beginners
Fiskars SoftGrip Hand Rake: Loved by beginners for its lightweight design and flexible tines. It’s gentle enough for young aloe plants and costs under $15.
Gardena Mini Soil Loosener: Features curved tines that glide through soil without digging too deep—perfect for aloe’s shallow roots.
How to Use It (Without Harming Roots)
Use the loosener once every 2–3 weeks, or after watering (when soil is slightly damp but not wet).
Gently scrape the top 1–2 inches of soil—never dig deeper, as aloe roots grow near the surface.
Avoid pressing down too hard; the goal is to create small air pockets, not disturb the root ball.
2. Precision Watering Can (or Spray Bottle)
What to Look For
Narrow Spout: A spout 6–8 inches long with a small opening (1/4 inch wide) lets you target the soil around the base of the plant. Wide spouts splash water everywhere.
Capacity: For small to medium aloe plants (6–12 inches tall), a 1–2 quart (1–2 liter) can is ideal. Larger cans are heavy and hard to control.
Transparent Body: A clear plastic or glass body lets you see how much water you’re using—helping beginners avoid overpouring.
Top Recommendations for Beginners
Vremi Small Watering Can: Has a long, thin spout and a transparent body. It also has a removable rose attachment (use it only for misting, not direct watering).
Haws Mini Watering Can: A trusted brand among horticulturists. Its brass spout is precise, and it’s small enough for windowsill aloe plants.
Expert Tips for Use
Water only when the top 2–3 inches of soil are dry (stick your finger in to check).
Tilt the spout so water flows slowly—fast pouring can wash away soil and expose roots.
Never water the leaves: If water gets on the foliage, wipe it off with a dry cloth to prevent fungal growth (per theAmerican Society for Horticultural Science).
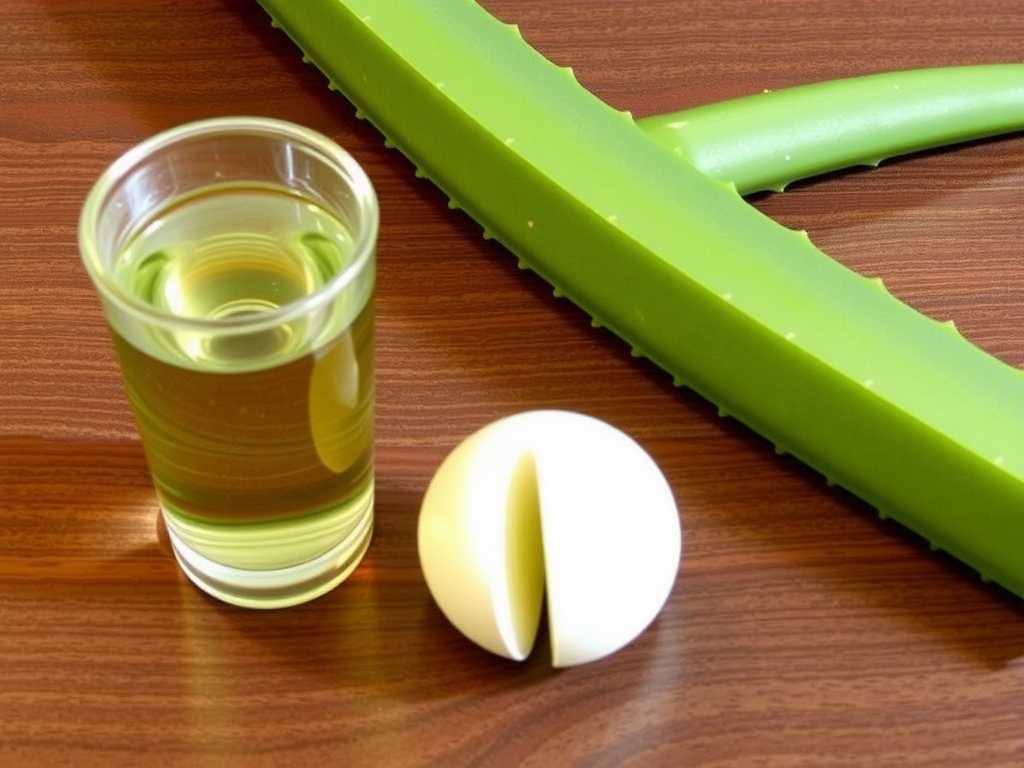
3. Sharp Pruning Shears (or Scissors)
What to Look For
Blade Type: Bypass shears (like small scissors) are best—they make clean, precise cuts. Avoid anvil shears (which press down on tissue), as they damage aloe’s thick leaves.
Size: Choose a small pair (4–5 inches long) with blades 1–2 inches wide. Large shears are too clumsy for aloe’s narrow leaves.
Stainless Steel Blades: They stay sharp longer and resist rust—important if you cut leaves for gel (moisture can cause rust on carbon steel).
Top Recommendations for Beginners
Fiskars Micro-Tip Pruning Shears: Perfect for small cuts. The blades are sharp enough to slice through aloe leaves without crushing them, and they cost under $20.
Gardener’s Supply Company Precision Snips: Features a safety lock to prevent accidental cuts, making it great for new gardeners.
How to Use Them Safely
Sterilize the blades before use: Wipe them with rubbing alcohol (70% isopropyl) to kill bacteria. This prevents the spread of disease, says Dr. Lisa Mason, a plant pathologist at the University of California.
Cut leaves at a 45-degree angle, 1–2 inches above the base of the plant. This helps the wound heal faster.
After cutting, let the leaf sit for 1–2 days (until the cut end calluses over) before using the gel—this stops sap from leaking.
4. pH Soil Tester (Digital or Analog)
What to Look For
Accuracy: Choose a tester with a digital display (analog models are less precise). Look for one with a pH range of 3.5–9.0 (covers aloe’s needs).
Ease of Use: For beginners, a “stick-and-read” model is best—no batteries or complicated setup. Just insert the probe into the soil and wait 10–30 seconds for a reading.
Durability: A probe made of stainless steel won’t rust or corrode in damp soil.
Top Recommendations for Beginners
Luster Leaf Digital Soil Tester: Measures pH, moisture, and light—three things aloe vera needs. It’s easy to use and costs around $25.
Gain Express Analog Soil pH Tester: A budget-friendly option (under $10) that’s simple for first-time users. It doesn’t need batteries, just a quick calibration.
How to Use It (and Fix pH Issues)
Insert the probe 2–3 inches into the soil (near the root zone, not just the surface).
If the pH is above 7.0 (too alkaline), add a small amount of peat moss or sulfur powder to the soil (follow package instructions—start with 1 teaspoon per pot).
If the pH is below 6.0 (too acidic), mix in a pinch of garden lime. Wait 2 weeks, then test again—don’t adjust pH too quickly, as it stresses the plant.
5. Potting Trowel (Small Size)
What to Look For
Size: A trowel 8–10 inches long (including the handle) is perfect for potted aloe. The blade should be 2–3 inches wide—small enough to fit in tight pots.
Material: A stainless steel blade won’t bend when lifting soil, and a wooden or rubber handle is comfortable to grip.
Smooth Edge: A rounded blade is gentler on roots than a sharp, pointed one.
Top Recommendations for Beginners
Wilton Comfort Grip Trowel: Lightweight and affordable (under $10). The soft handle is easy on hands, and the blade is small enough for windowsill aloe.
Corona GT 3200 Trowel: A durable option with a rust-resistant blade. It’s slightly pricier ($15–20) but lasts for years.
How to Use It for Repotting
Slide the trowel along the inside edge of the old pot to loosen the soil from the sides.
Gently lift the aloe plant out—if it’s stuck, use the trowel to scrape away soil from the bottom (don’t pull the plant by its leaves).
When adding fresh soil to the new pot, use the trowel to pat the soil lightly around the root ball—don’t pack it too tight (compacted soil harms roots).
发表评论